This is the Step by step documentation guide for using custom fonts on your WordPress website.
Video Tutorial
Here’s a video guide on PostX Custom Fonts, to understand the process visually.
Activate Addon
First, you need to activate the PostX Custom Font Addon.
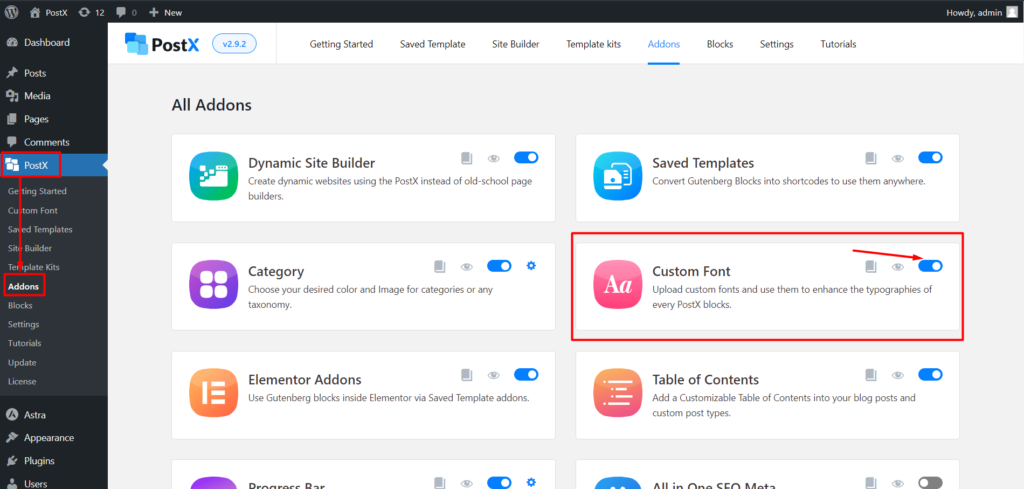
Go to PostX → Addons, and activate the Custom Font addon with the toggle bar.
Upload Custom Fonts
Follow this guide to add WordPress custom fonts with PostX.
Step 1: Access the Custom Fonts Section
Login to your WordPress Dashboard. Locate and select the “PostX” menu option. This will display all the features of the PostX plugin. Click the “Custom Fonts” option to go to the font editor page.
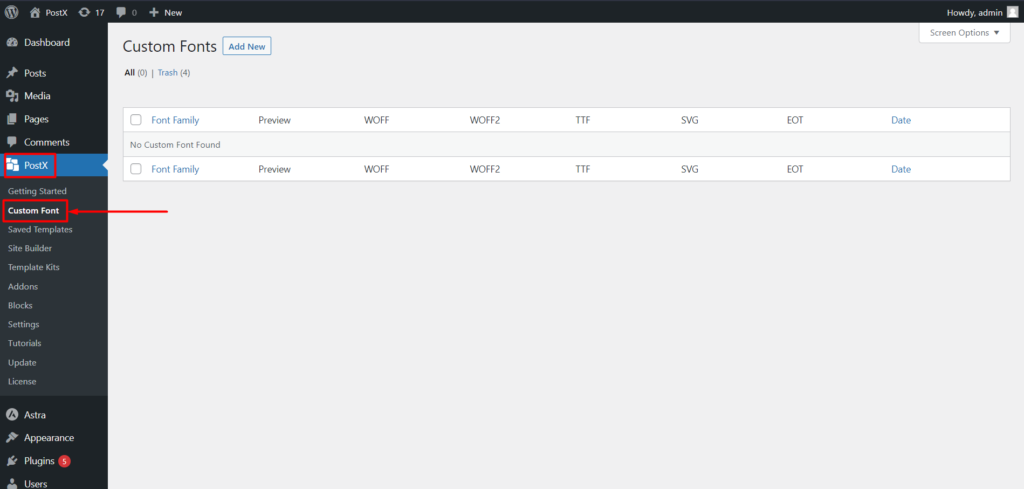
Step 2: Add a New Custom Font
In the Custom Fonts section, click the “Add New” button. This will take you to the font upload page, where you can add a new custom font.
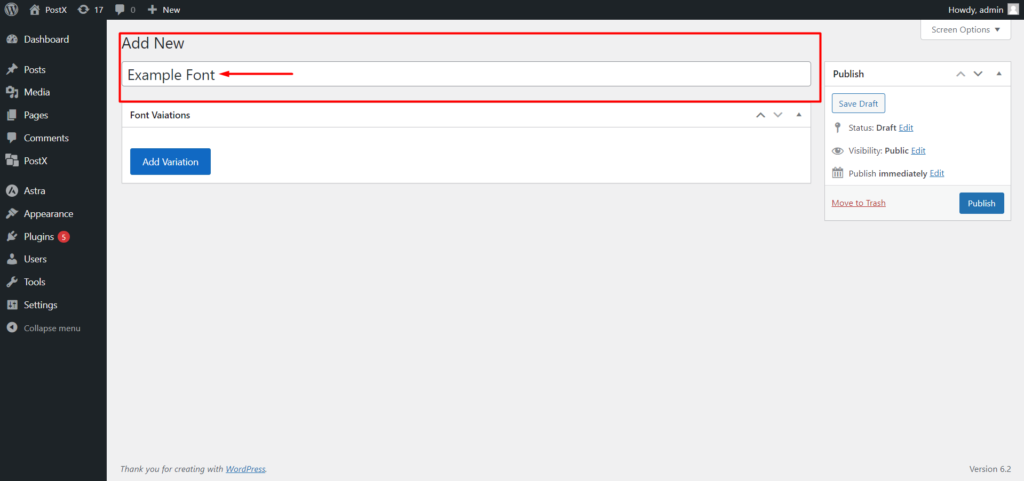
Step 3: Add Font Name
Give a name to the custom font for easy identification. This is an important step because this name will be used to select your custom font.
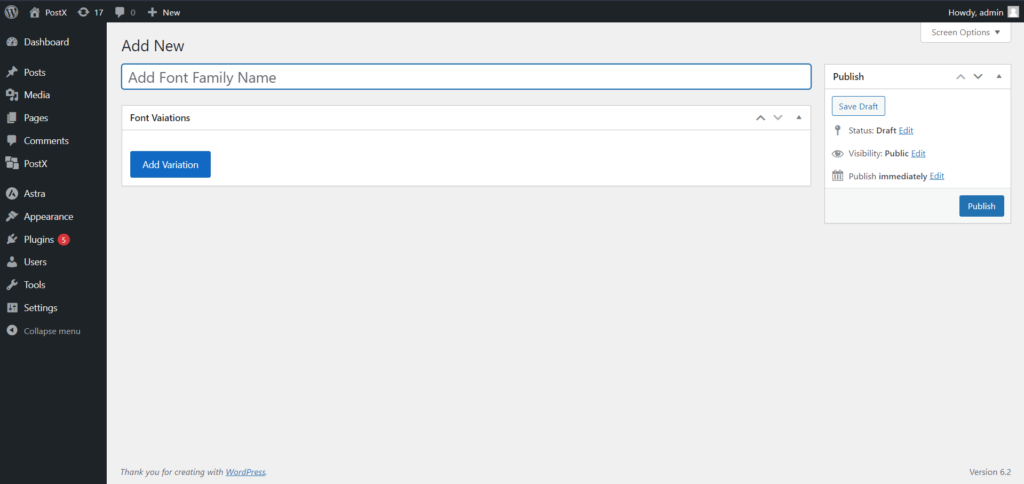
Step 4: Upload the Font File
Click the “Add Variation” button to reveal the font upload options. Choose the appropriate font format from the available options (WOFF, WOFF2, TTF, SVG, EOT).
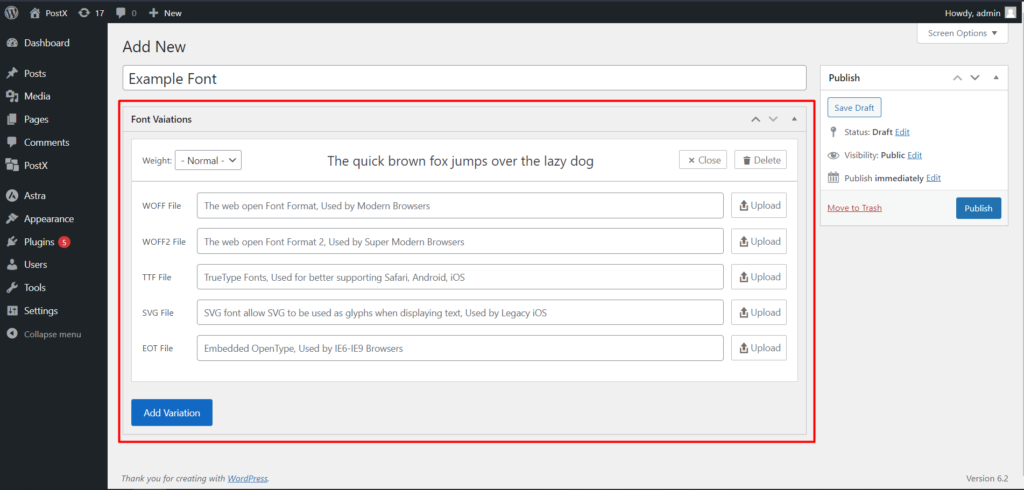
Click the “Upload” button to browse and select the font file from your computer. The font file will be uploaded to your WordPress website using the media library.
Step 5: Specify Font Weight
Select the desired font weight from the available options. Font weight determines the thickness or boldness of the characters and is essential for proper font styling.
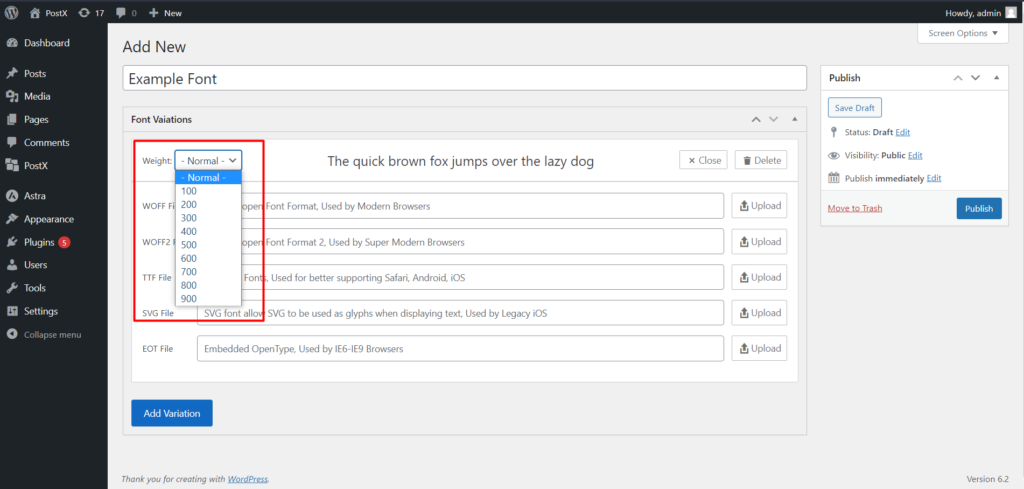
This step ensures consistent styling throughout your website.
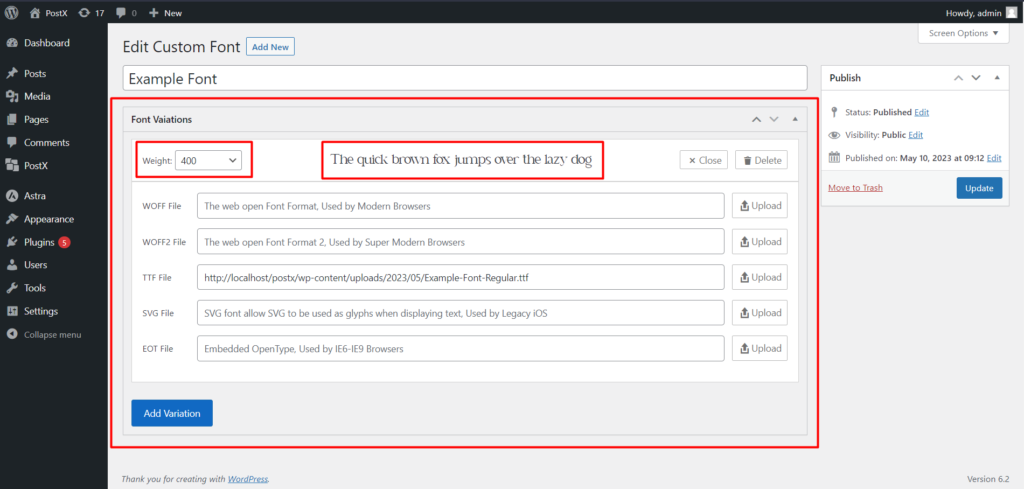
Step 6: Preview Custom Font
After uploading the font, a preview of the font will be displayed. Make any necessary adjustments if the font preview doesn’t match your expectations.
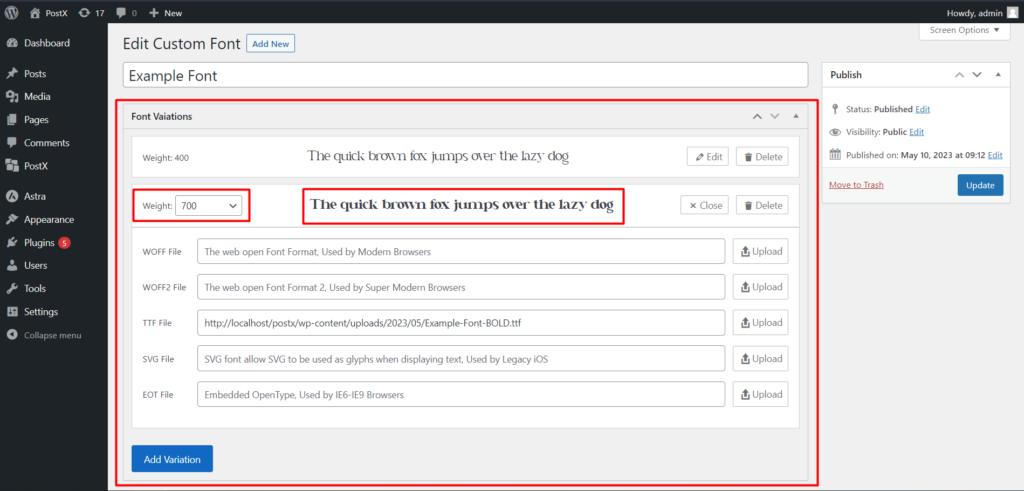
Step 7: Add Additional Font Variations
If you have multiple variations of the same font (e.g., thin, bold), you can also upload them.
Click on the “Add Variation” button again to add another variation. Name the variation the same as the initial version of the font. Upload the font file for this variation. Select the corresponding font weight for the specific variation.
If you have more font variations, repeat Step 7 to add them. You can upload unlimited variations for a font, so feel free to add as many as you need.
That’s it! You have successfully uploaded a custom font to your WordPress. You can now use the custom font in every PostX block with typography settings.
Use Custom Fonts
Follow this guide on how to use WordPress custom fonts with PostX.
Step 1: Create a New Page
Login to your WordPress Dashboard and navigate to the Pages section and click on “Add New” to create a new page on your website.
Step 2: Add PostX Blocks
Choose the PostX block that you want to work with (e.g., Post Grid block). Or, add the required PostX Blocks to the page.
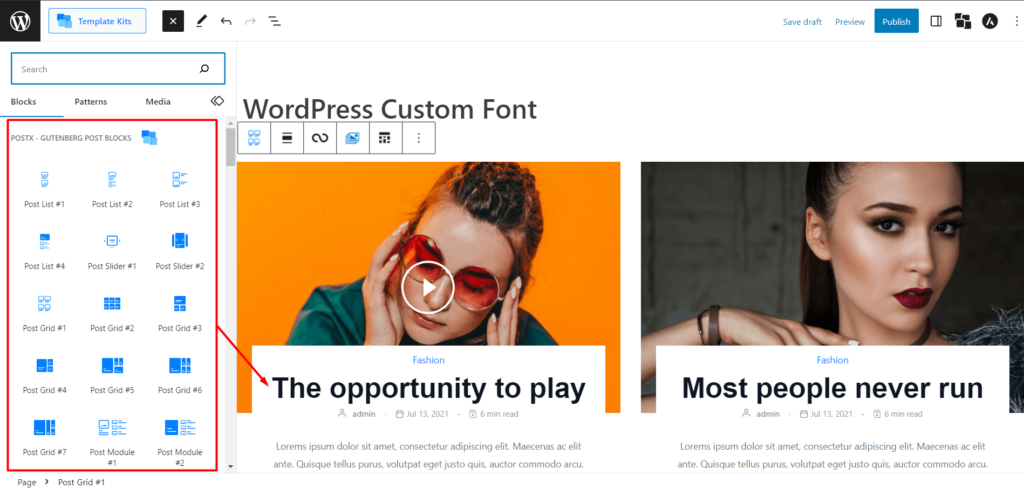
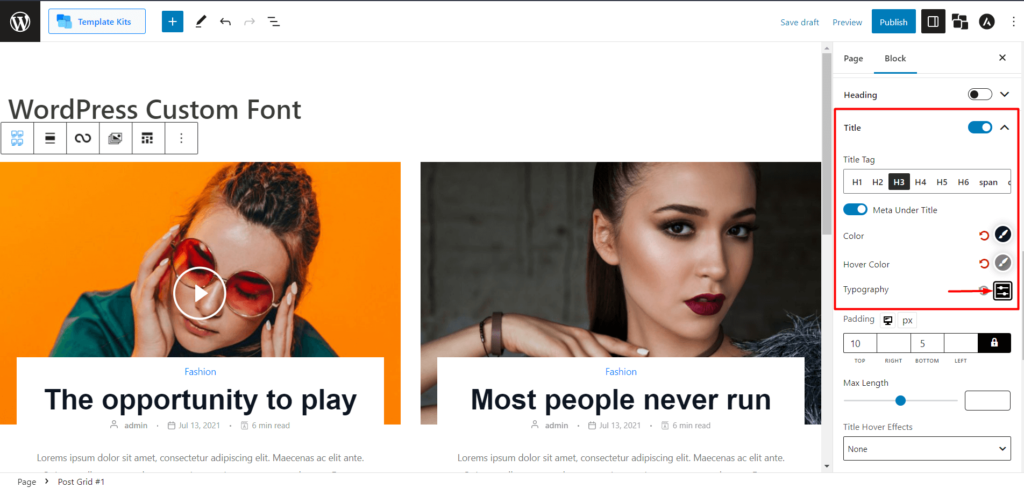
Step 3: Access Typography Settings
Select the PostX block you added to the page. Look for the title settings of the block and find its typography settings. These settings allow you to customize the font style and appearance for the selected block.
Step 4: Select Font Family
Within the typography settings, find the option to select the font family. Click below the “Family” label and a drop-down menu will appear.
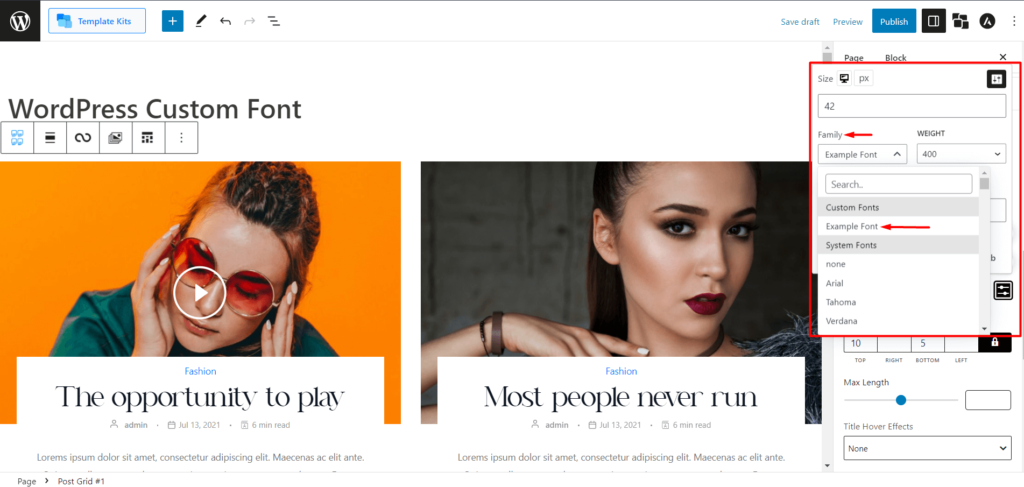
All the custom fonts you uploaded earlier will be displayed in the custom font section. Select your desired custom font from the available options.
Step 5: Choose Font Weight
After selecting the custom font, you need to choose the font weight.
The weight options will be based on the variations you uploaded earlier for the font. Select the appropriate weight to achieve the desired font style.
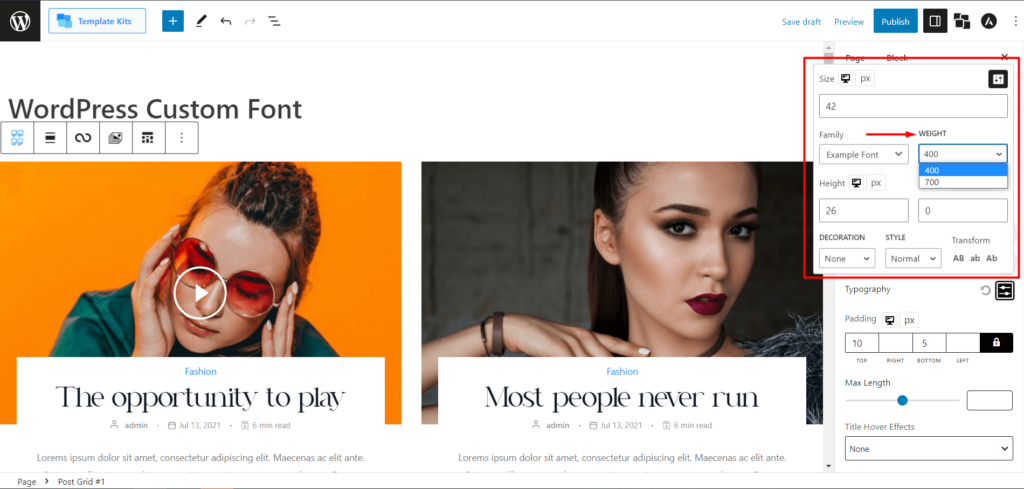
For example, if you uploaded variations like regular (weight: 400) and bold (weight: 700), select the corresponding weight for the desired style.
Step 6: Adjust Font Settings
Once you have selected the custom font and its weight, you can further adjust the font settings. The typography settings include options like font size, line height, letter spacing, and more.
Modify these settings according to your preferences to achieve the desired typography style for your PostX block.
Customize Custom Fonts
Follow this step-by-step guide to customize WordPress custom fonts further.
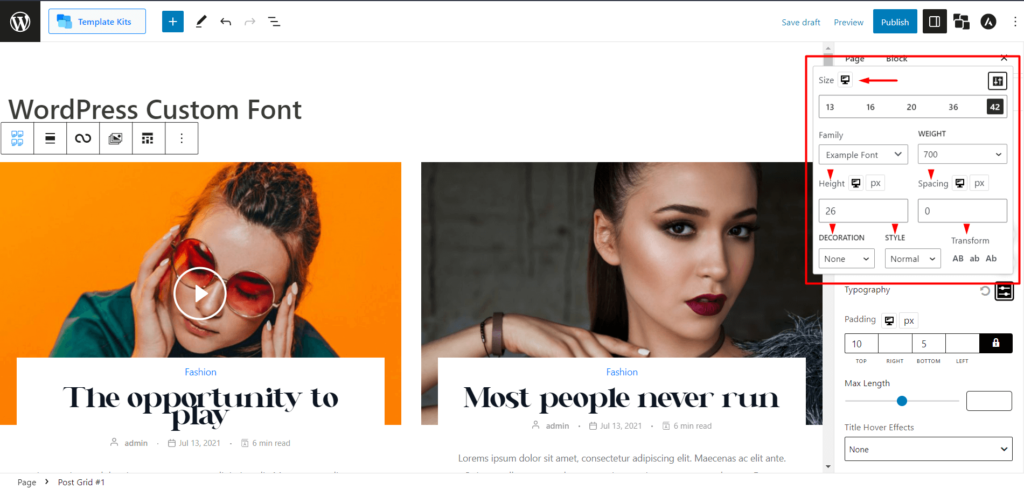
Step 1: Font Size Customization
In the settings panel, locate the option for font size customization.

Select a fixed font size (e.g., 13, 16, 20, 36, 42) or enter a custom font size using the provided input field.
Choose the desired font size to make the text smaller or bigger.
Step 2: Font Decoration Customization
First, locate the font decoration customization.
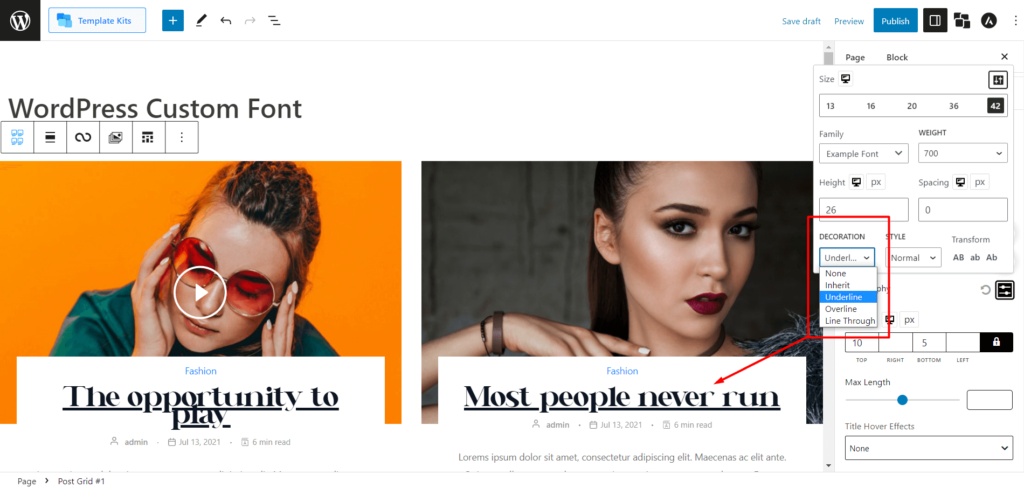
PostX provides options to change font decorations such as underline, overline, and line through. Select the desired decoration option to add the corresponding style to your custom font.
Step 3: Font Style Customization
Locate the font style customization options within the typography settings of PostX.
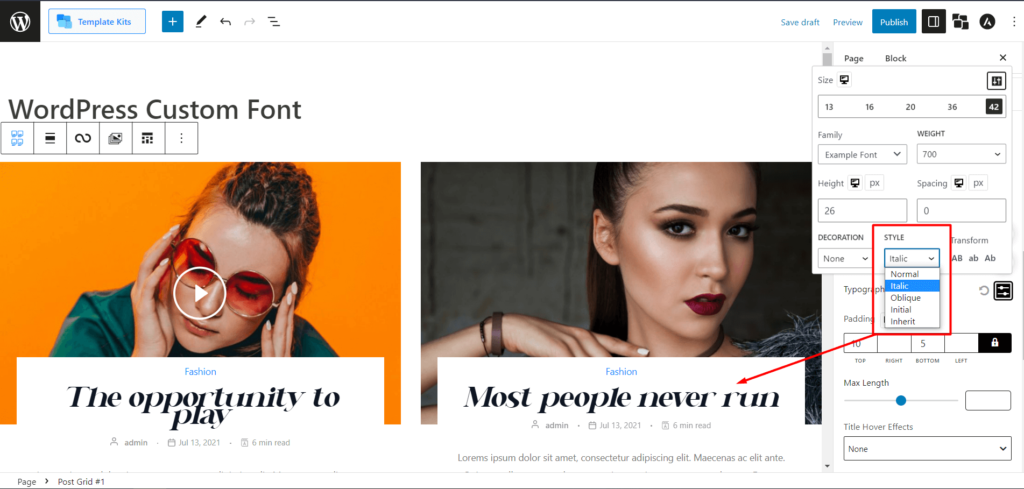
PostX allows you to change font styles, including italics and oblique. Please select the desired font style option to apply it to your custom font. Note that some fonts may not support certain styles.
Step 4: Font Transformation Customization
PostX lets you transform the font text into different cases: AB (all capital case), ab (all lower case), and Ab (title case).
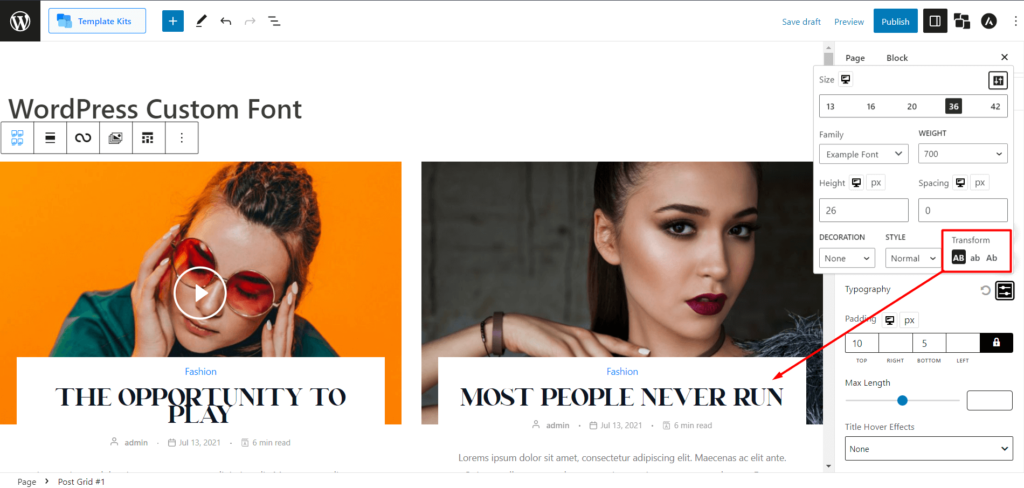
Select the desired font transformation option to change the case of the text.
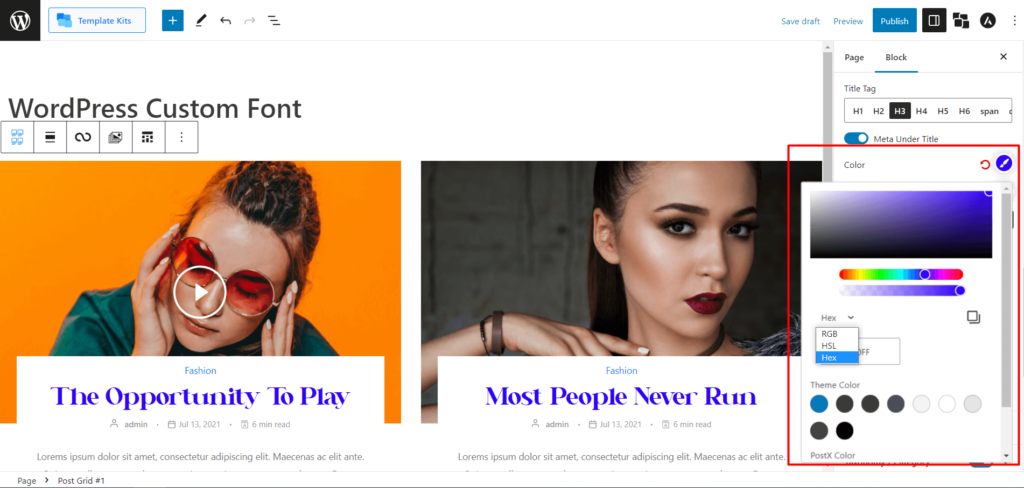
Step 5: Font Color and Hover Color Customization
Within the typography settings, you will see the font color customization options.
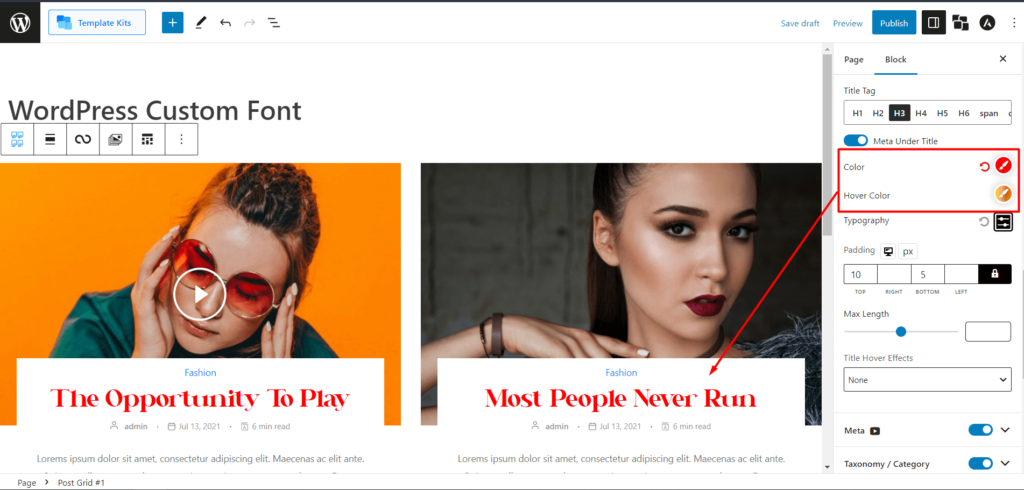
Select a color from the palette that suits your design, or enter specific color codes in HEX, RGB, or HSL formats. The text color will be updated accordingly. Like font color customization, you will get hover color options within the typography settings.
Using all the available customization settings in PostX, you can personalize your site with WordPress custom fonts without hassle.
Font Weight Guide
Font weight is crucial in determining the thickness of a font’s strokes, impacting the visual impact of the text. When uploading custom font variations with PostX, follow this guideline for optimal font weight selection:
Suppose you have thin, normal, medium, bold, and other variations for a font. Ensure consistent naming while adjusting the weight for each variation:
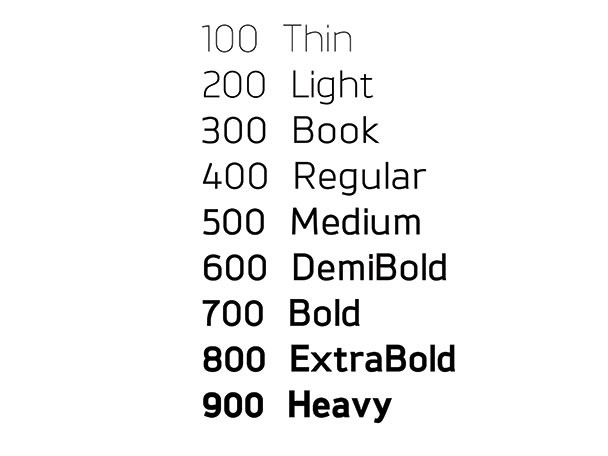
- “Thin” variation: Select weight 100
- “Light” variation: Select weight 200
- “Book” variation: Select weight 300
- “Normal/regular” variation: Select weight 400
- “Medium” variation: Select weight 500
- “Demi Bold” variation: Select weight 600
- “Bold” variation: Select weight 700
- “Extra Bold” variation: Select weight 800
- “Heavy” variation: Select weight 900
Follow this guide strictly when using multiple variations of the same font.